It’s time for me to break the bad news…it’s virtually impossible to grow healthy seedlings at home in front of the window.
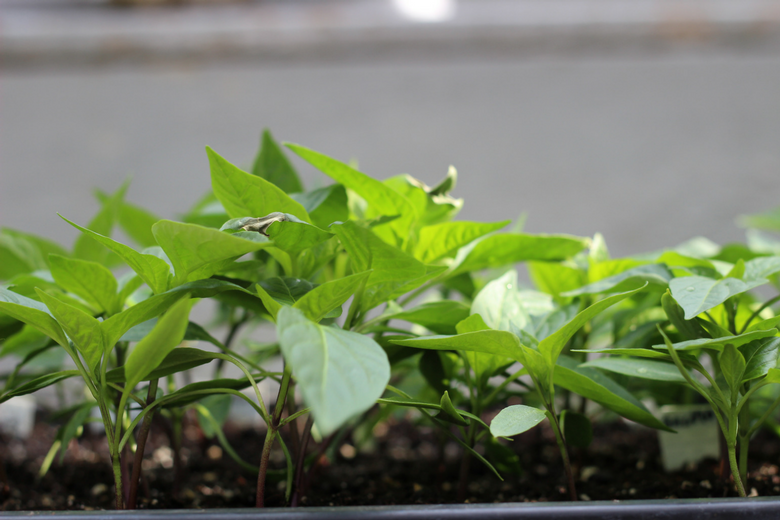
When you do it this way you’ll likely end up with plants that are way too tall and stretched out (we call this leggy, and it’s not good).
A tall and skinny seedling is the opposite of what you want. Short, stocky, and strong seedlings are much more able to withstand the wind, rain, and other weather pressures they’ll face in the garden.
If you’re going to spend the time and money to grow your own plants at home, I highly recommend doing it right and assembling your own DIY grow light stand.
Growing under lights is the best way to ensure your seedlings are healthy and strong when they finally make that trip out to the garden. But, conventional seed starting equipment can be quite expensive. And for such a large investment it seems like a waste when they sit unused in a corner of the basement the rest of the year.
The great news is that you don’t need one of those fancy light racks. You can easily assemble your own seed starting rack with materials from your local hardware and big box store.
Come along on a tour of the DIY grow light stand I’ve been using for the last 12 years and learn how to build your own.
How to Make Your Own DIY Grow Light Stand
The Rack
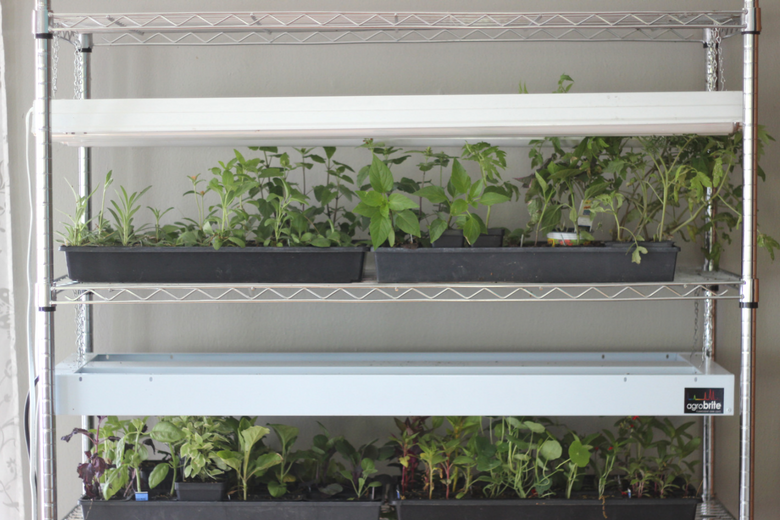
I use metal wire shelving (commonly called metro racks) for my stand. I grow a lot of seedlings, so I use the largest available which has five shelves. The rest of the year I use it for storage in my basement or garage. The shelving units come in different sizes, so you can choose one with fewer shelves if you have a small garden.
The Lights
There are lots LED and high performance grow lights out there, but you don’t have to get anything fancy if you don’t want to. Using standard 4 ft. long shop lights that hold two fluorescent bulbs works great.
On each shelf, I use two sets of lights, so four bulbs total. I find that one set isn’t enough light for the seedlings and causes that leggy problem we talked about.
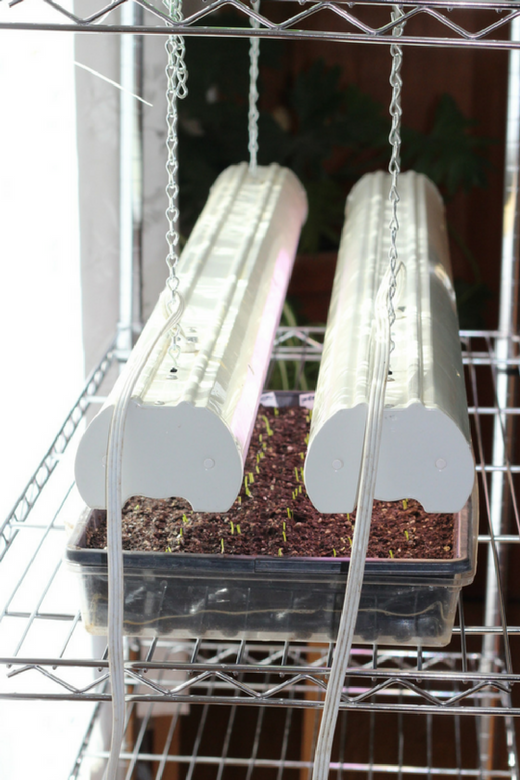
I put three soft white inexpensive fluorescent bulbs and one grow light bulb in each set of four. I position the grow light in one of the middle two bulbs. The lights are hung with metal chains and s-hooks so I can move them up and down.
(I bought this light a few years ago to compare against the standard shop lights, and I don’t necessarily prefer it over them. It gets really hot, so if the plants touch the lights they get burned. This doesn’t happen with regular fluorescent bulbs.)
The shelving unit, shop lights, bulbs, hooks, and chains are the main building blocks of this easy to build DIY grow light stand. Pretty simple, right?
Once you get those things in place, there are a few other supplies you’ll need to continue setting up your successful seed starting operation. The nice thing is that most of these things are a one-time investment. You can use them over and over again every year.
Additional Materials
Timer
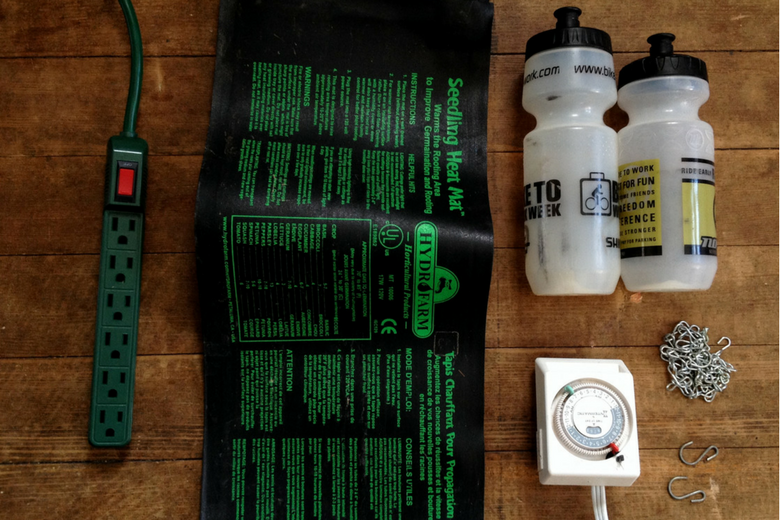
Your lights should be on for 12 hours per day and off at night. The easiest way to ensure this happens is to plug everything into a timer.
Extension Cords & Power Strips
You’ll need to plug all of your lights into the power strip and then plug the power strip into the timer so they’re all turning off and on at the same time. Depending on your set up you may need some extension cords to help all of the lights reach the power strip.
Watering Device
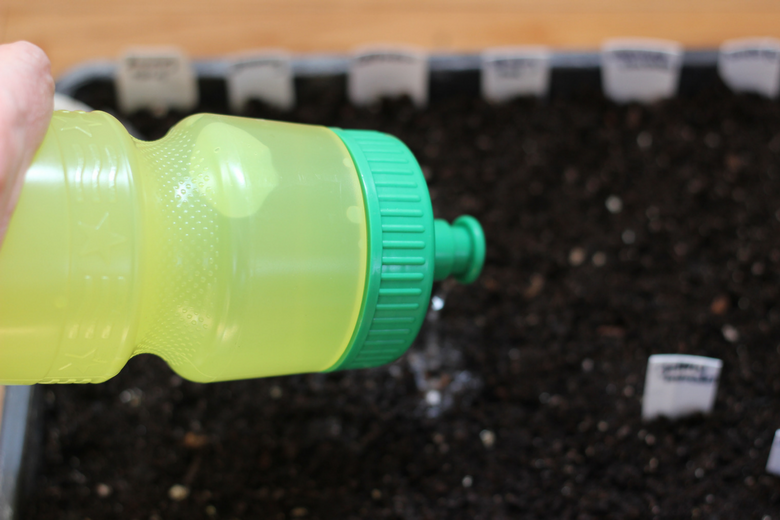
I like to use bike water bottles because the stream of water is easier to contain than a watering can. That means so spills on my living room floor!
Seedling Heat Mat
Optional. The mat helps with the germination of heat-loving vegetables like peppers, eggplant, and tomatoes. I’ve found that I can’t successfully get pepper seeds to germinate without an extra bit of heat.
Assembling your own DIY grow light rack will save you money and allow you to grow higher quality seedlings at home, which will also save you money! So, you’re saving money twice over. Not bad for a small investment.
You’ll be able to use all of these supplies over and over again in the coming years as you get more addicted to starting seeds. (Which will happen once you get the hang of it – trust me!) I’ve considered upgrading to two five-shelf racks, but so far my husband has been successful in talking me out of it…
Originally posted 2018-03-15 09:12:46.







Great article! I love my set-up. Just some things I do different. I use a 4 bulb 4 ft. shop light fixture, thus less cords and all plug into a power bar that rests on the back edge of a middle shelf. My seedlings grow great just using T8 florescent tubes. I also aim for a 16 hour day for them so I turn them on when I first get up in the morning and off when I go to bed at night. I try to keep the light just a couple of inches above the plants to maximize light. I take my whole tray of seedlings over to the sink and use a gentle spray from the tap to water them (lazy way, lol)